Chequerboard

Requirements

Pair of No. 4mm (UK size 8) needles
1 x 100g ball of acrylic double knitting wool – colour A
1 x 100g ball of acrylic double knitting wool – colour B

Method

Cast on 20 stitches in colour A.
Rows 1 – 4 Knit.
Row 5 – 6. Knit 2, Purl 2. Continue this to the last 2 stitches. Knit 2.
Row 7 – 8. Knit 2.Then Knit 2 Purl 2 to last 2 stitches. Knit 2.
Repeat rows 5 – 8 another 4 times.
There will now be 10 blocks of double moss stitch.
Knit 4 rows.

Change to colour B. Repeat the 28 rows as for Colour A. Continue alternating colours until you have completed 7 ‘blocks’ finishing with Colour A. Cast Off.

Make a further 3 strips starting and finishing with colour A. Make 3 strips starting and finishing with Colour B. The size of this blanket can be altered by adding to the length of each row and by adding more rows.

Sew strips together, alternately, the outside strips will begin and end with Colour A. Alternately – make up your own design using a variety of different colours.

Basket weave

Basket weave

Approx 150/200 gm of DK yarn

With 4mm needles (UK size 8) cast on 140 stitches.

Rows 1 – 10 Knit
Rows 11 – 20 Knit 10, * Knit 10, Purl 10* repeat * to * until last 10 sts, Knit 10
Rows 21 – 30 Knit 10, *Purl 10, Knit 10* repeat * to * until last 10 sts, Knit 10

Continue with this pattern until blanket measures approx 24 inches.

Knit final 10 rows. Cast off.

Log cabin (blanket without sewing)

Log cabin knitted blanketsKathleen Gibson kindly provided this copyright pattern for Project Linus UK.

Materials: Approximately 135g Double Knitting yarn. 4mm (UK size 8) needles
Finished size: approx 20 inches square.

Worked in garter stitch, slipping first stitch of each row.

Cast on 20 stitches. Knit 38 rows to make the central square. Cast off leaving last stitch on right hand needle. Pick up 19sts evenly along the left side of the square – 20 sts. When picking up, put pick up needle through the ‘bumps’ instead of the ‘loops’ as this will give a tighter seam.

Knit 19 rows. This creates the first ‘log’ of the log cabin. (At the end of the first row there may be a ‘loop’. If so, knit in with the last stitch.)

Cast off as before, leaving last stitch on right hand needle. Pick up down the left side – 10 sts from the side of the last knitted block and 20 sts from the cast on edge of the original square. 30 sts.

Continue in this manner. The next 2 ‘logs’ will have 40 stitches, following 2 logs 60 sts etc. When 4 logs are completed on each side of the central square (100 sts) cast off. Carefully sew in any ends – or weave them in as you go.

NB. Always cast off with the same side facing up and pick up down the left side of the work.

Variations:

  • Enlarge it – always working the same number of logs on each side of the central square
  • Use a variety of colours and try using more than one colour in each ‘log’
  • Change the central square to a rectangle
  • Change the width of the logs

Premature knitted triangles

Knitted trianglesThese are small knitted triangles that the mother rubs on her body and this triangle is then placed with the premature baby. This gives the baby the scent of the mother.

Using number 10 needles and 4 ply wool cast on 51 stitches and rib (K1, P1) for four rows.
Knit one row
Purl one row
Knit one row
Purl one row

Continue in stocking stitch (Knit one row, Purl one row) decreasing one stitch at each end of every knit row until you get 3 stitches. Purl these three stitches together.

Using the one stitch on the pin, pick up another 50 stitches along the side, rib three rows and cast off. Pick up 51 stitches along the other side, rib three rows and cast off.

Premature baby hats

Premature baby hat

Materials:
Double knitting wool
3¼ mm (UK size 10) needles.

Cast on 48 (56) sts.
Knit 6 rows.
Continue in stocking stitch until work measures 2 ½ (3) inches – 6 (7.5) cms.
Knit 2 together knit 6 – repeat to end of row. Next and every alternate row purl to end
Continue decreasing i.e. knit 2 together knit 5 (4) (3) (2) (1) until 12 (14) stitches remain.
Purl one row.
Knit 2 together 6 (8) times
Thread wool through remaining stitches and fasten off. Sew up using a flat seam.

Scrap value

This pattern is taken from ‘Successful Scrap Quilts from Simple Rectangles’ by Judy Turner & Margaret Rolfe.

Sort out scrap fabrics into lights and darks. You can have a colour theme: e.g. autumn colours, pastels, brights.

Cut fabric pieces to measure 3 1/2” x 2”. This was a collection of mostly blues. Accurate cutting and stitching is essential.

Using 1/4” inch seams hand or machine stitch pieces together into threes as follows: 2 lights joined along the long side, then a dark piece joined across the top. Then two darks and a light. Join the 3’s into strips as in the photograph and then join the strips together. Finish with a border in a plain dark colour to match.foq-block-2012

60 degree quilt

60 degree quilt by Magnolia Bay Quilts

This stunning quilt was made by Kim Brackett of Magnolia Bay Quilts. Although it initially looks like a fiendish triangle quilt, in fact this is a more flexible quilt. The important thing to remember is that every seam is a 60 degree angle, and that your strips should be a consistent width. (click the photo to view larger image)

NB: To create this quilt you’ll need a ruler with a 60 degree marking.

View the full tutorial and lots of helpful tips, visit the Magnolia Bay Quilts website.

New blanket square

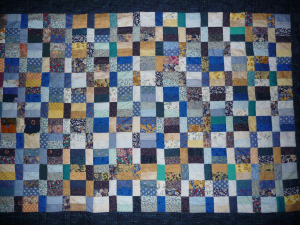
The long double pointed needles you can buy now mean that it is possible to hold more stitches on the needle with the weight of the knitting on your lap. So you can make a blanket all in one go. But even so there are advantages in making a blanket out of smaller squares. The traditional blanket made out of knitted squares was a useful way of using up oddments of yarn. Knitting individual squares means that you never have too many stitches on the needle at once. A blanket knitted all in one go can sag and stretch. But, the big problem with the traditional squares was sewing them together as this is difficult to do well. The sewing has to be firm but not lumpy.

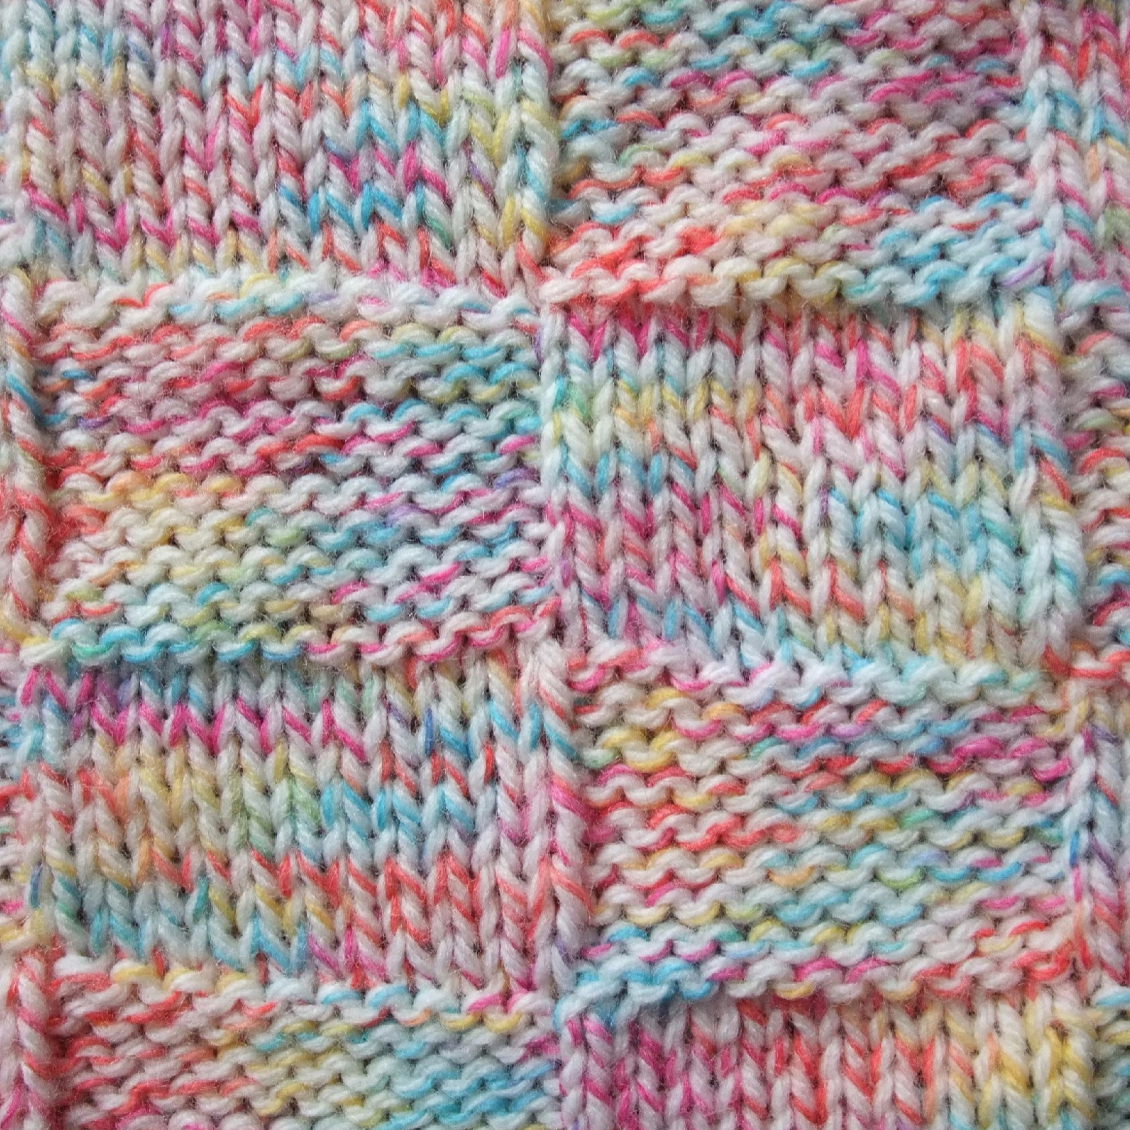
However, this pattern allows you to make a blanket out of squares without having to sew them together. The result has a much better tension, drape and feel than a sewn blanket.

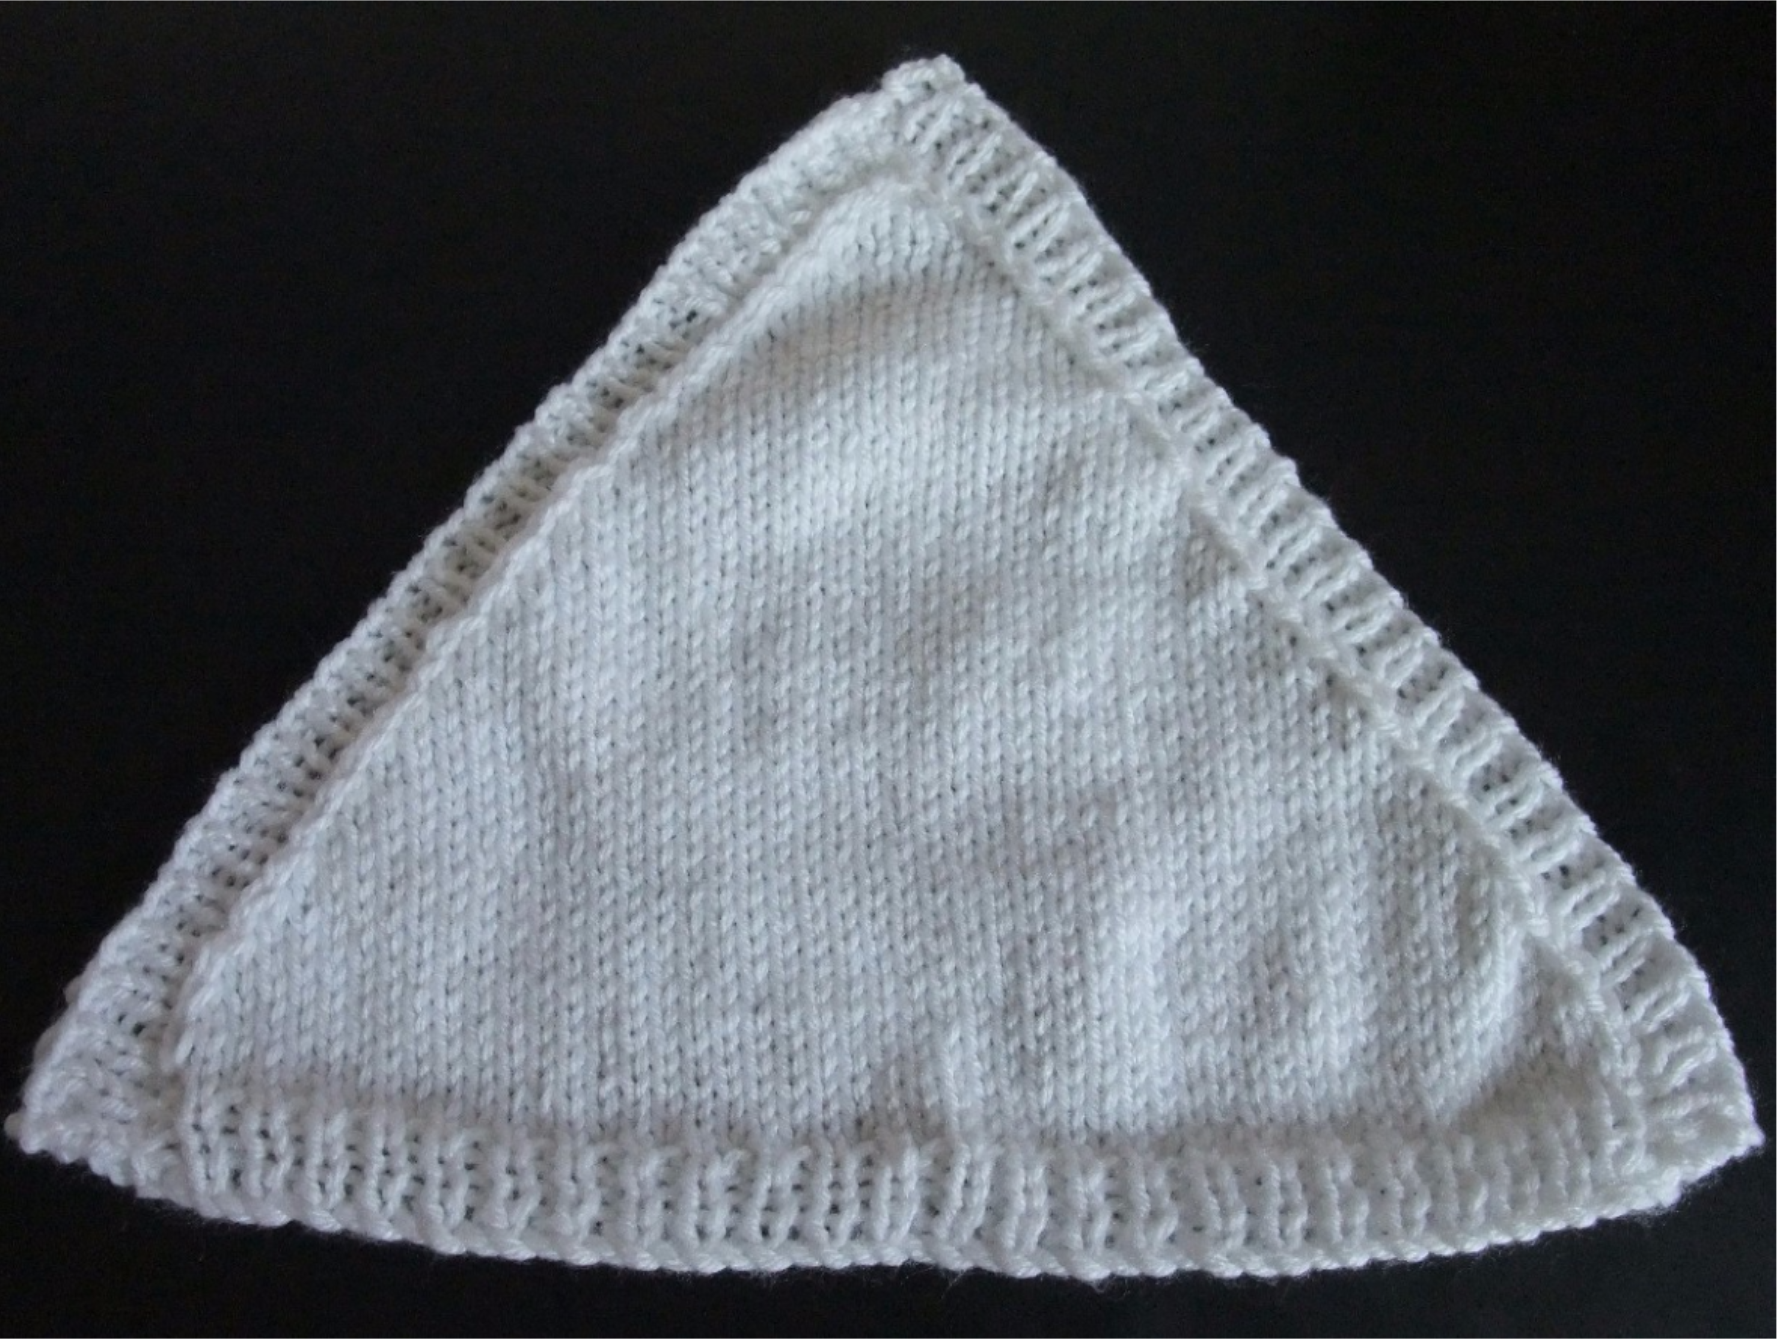
Cast on 41 stitches. Knit one row. Turn. The right side of the work is now facing you.
Knit 19. Knit 3 together through back of loops. Knit 19.
Knit one row.
Knit 18. Knit 3 together through back of loops. Knit 18.
Continue in this way until 3 stitches remain. Knit 3 together and fasten off.

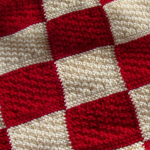
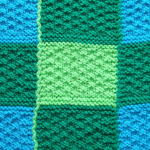
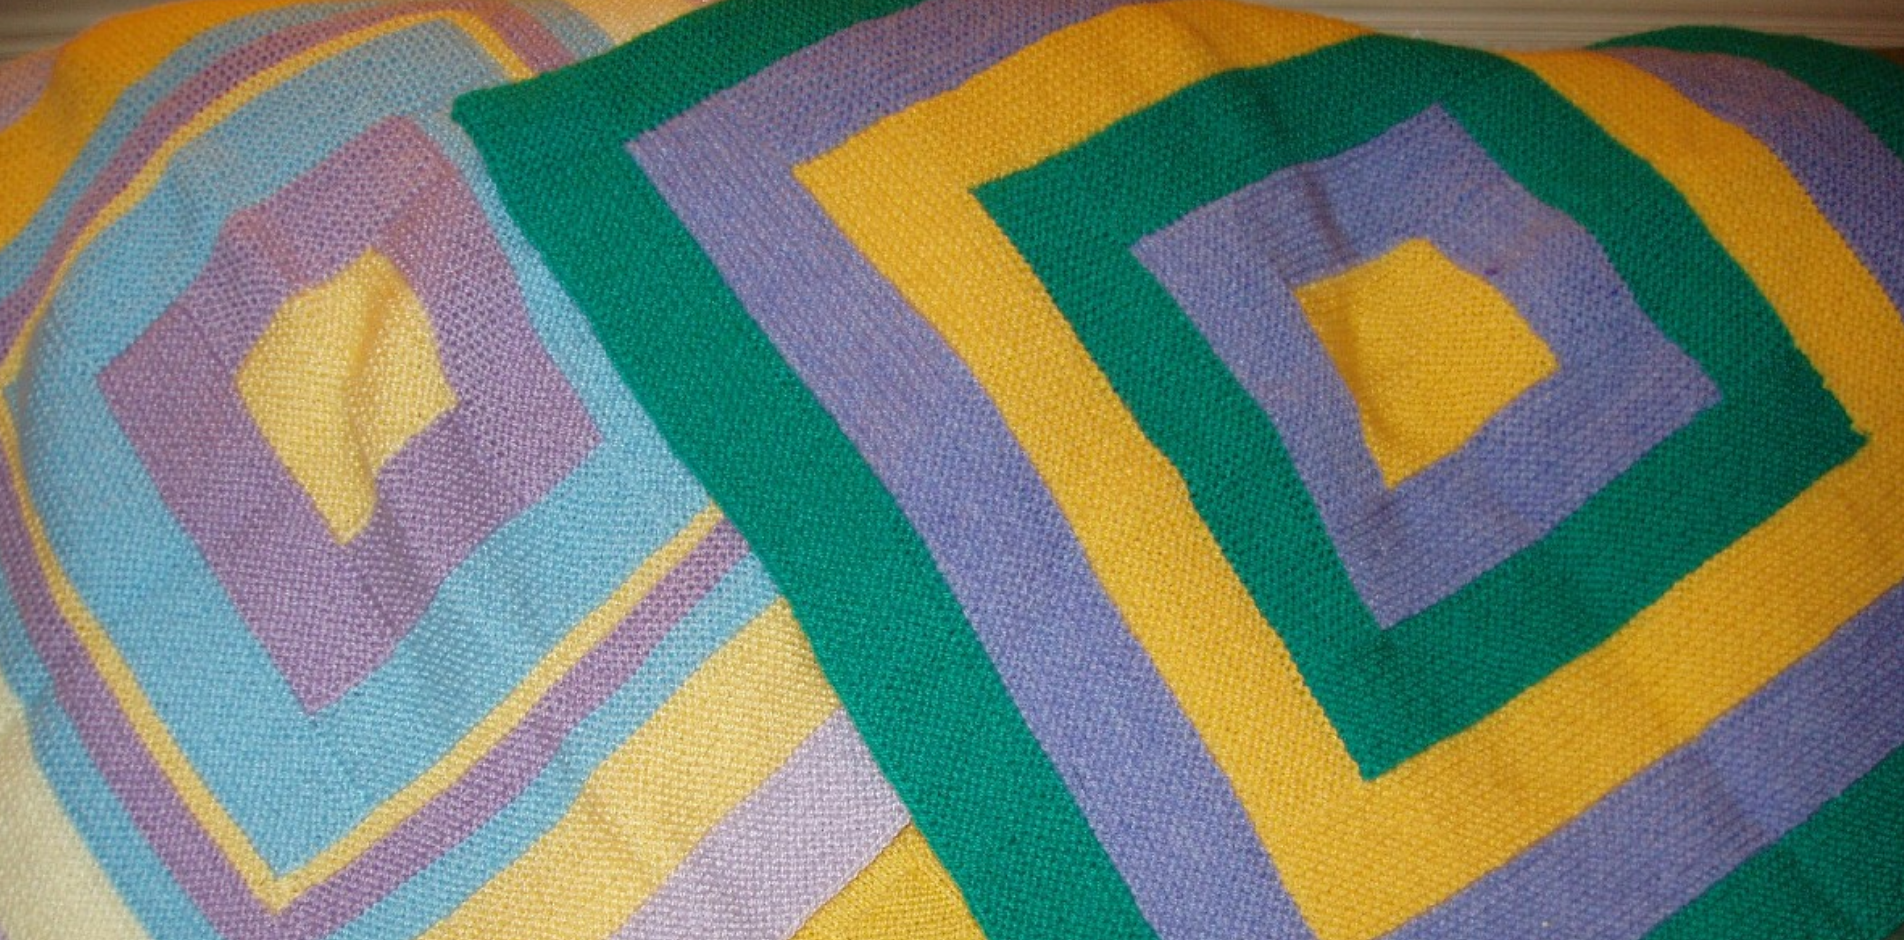
This is your first square and will be on the bottom left hand corner of the finished blanket with the line of knit 3 tog stitches going from bottom left to top right.new-blanket-square-1

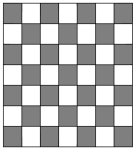
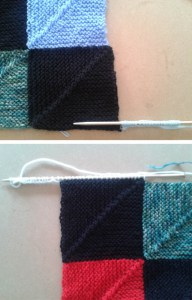
To make the next square, cast on 21, preferably with thumb method, and, with the stitches on the right hand needle, pick up 20 stitches along the right hand side of the first square. Work the second square on these stitches. Make as many squares as you want on the bottom row.

To make the left hand square on the next row, pick up 20 stitches along the top of the first square then cast on 21 stitches, using a ‘knitting on’ technique so you are going left to right. Work the square on these stitches.

For the next, and all subsequent squares on that row, pick up 20 stitches on the top of the square below, one stitch right in the corner and 20 stitches up the right hand side of the previous square. Make as many rows as you want.

Weave in as many ends as you can while working, fasten off any remaining ends. To finish it off really neatly, use a long double pointed needle and pick up 20 sts along each square on one side. Knit 3 or 5 rows and cast off all but the last stitch. Pick up 3 or 5 sts along the side you have just knitted then 20 sts along each square on the next side and repeat. Do the same for the remaining two sides.