Scrappy brick quilt

Scrappy brick quilt

Use many multicolour fabrics randomly. Cut oblongs 3.5 inches x 6.5 inches (¼ inch seam allowances throughout).

Start in the centre and work outwards, sewing longer strips together before attaching to the previous section.

You can do as many rounds as required (making it oblong or square) and then add:

  • plain border – 2.5inch for the layout below
  • strippy border – 3.5 inch for the layout below
  • plain border – 2.5 inch for the layout below and then bind
  • or use a plain border in between the multi patterned borders


Quick scrappy quilt

Quick scrappy quilt

This is a very quick quilt to make, and can easily be made in a day.

Requirements
Cut 9 x 6½” squares of novelty fabric or similar
Cut 9 x 6½” squares of plain fabric
Cut 2 strips 36 x 6½” of contrasting plain fabric

Construction (use ¼ inch seam allowance throughout)
Make 3 strips from the 6½” squares. For each strip join 3 novelty and 3 plain squares, alternating them as you go. Press each strip.

Join the long strips in between the 6½” square strips so they are alternating. Press the top.

Sandwich together and quilt in your preferred quilt pattern. Add a binding.

Scrappy quilt

Scrappy quilt

This is a good way of using up larger pieces, left over from making a quilt, that you don’t know what to do with and is very quick and easy to put together.

Requirements
Selection of fabrics (can be novelty or various patterned fabric)
Plain fabric for the dividers.

Construction
Cut your chosen fabrics to the same length. Widths may vary as you can see below. You can use as many as you please. Cut your plain fabric 2½” by the same length.

Starting with a plain fabric join all the strips together, alternating between the plain and your chosen fabric. End with a plain strip. Press.

Cut a plain strip 2½” by the finished length of your joined strips and join them to the top and bottom.

Depending on the length of your strips you can add a border. In the picture below the length of the quilt was 35” so a border was only joined at the top and bottom to increase the width.

Sandwich, quilt and add a binding.

Adaptable quilt

Adaptable quilt

You can use as many different fabrics as you want. This pattern is for a quilt roughly 32” square. For larger quilts increase the number of 18” squares.

  • It is made up of 4 units
  • Start with 4 x 18” square pieces of fabric (use contrasting fabrics)
  • Stack the 4 pieces on top of each other
  • Cut through all layers as shown in the diagram below

Adaptable quilt diagram

Reassemble the squares with the colours as evenly distributed as possible.

  • Sew 4 rectangles together and 3 squares together
  • Sew the 4 joined rectangles to the sewn 3 squares.
  • Sew the 4” x 18” oblong to the sewn 3 squares.
  • Sew 2 reassembled squares together so they are the opposite way up. Repeat with the other 2 squares. Join the 2 sets together.
  • If you wish to rearrange the squares in a different way they may need to be trimmed.

Scrap value

This pattern is taken from ‘Successful Scrap Quilts from Simple Rectangles’ by Judy Turner & Margaret Rolfe.

Sort out scrap fabrics into lights and darks. You can have a colour theme: e.g. autumn colours, pastels, brights.

Cut fabric pieces to measure 3 1/2” x 2”. This was a collection of mostly blues. Accurate cutting and stitching is essential.

Using 1/4” inch seams hand or machine stitch pieces together into threes as follows: 2 lights joined along the long side, then a dark piece joined across the top. Then two darks and a light. Join the 3’s into strips as in the photograph and then join the strips together. Finish with a border in a plain dark colour to match.foq-block-2012

60 degree quilt

60 degree quilt by Magnolia Bay Quilts

This stunning quilt was made by Kim Brackett of Magnolia Bay Quilts. Although it initially looks like a fiendish triangle quilt, in fact this is a more flexible quilt. The important thing to remember is that every seam is a 60 degree angle, and that your strips should be a consistent width. (click the photo to view larger image)

NB: To create this quilt you’ll need a ruler with a 60 degree marking.

View the full tutorial and lots of helpful tips, visit the Magnolia Bay Quilts website.

Simple weighted quilt

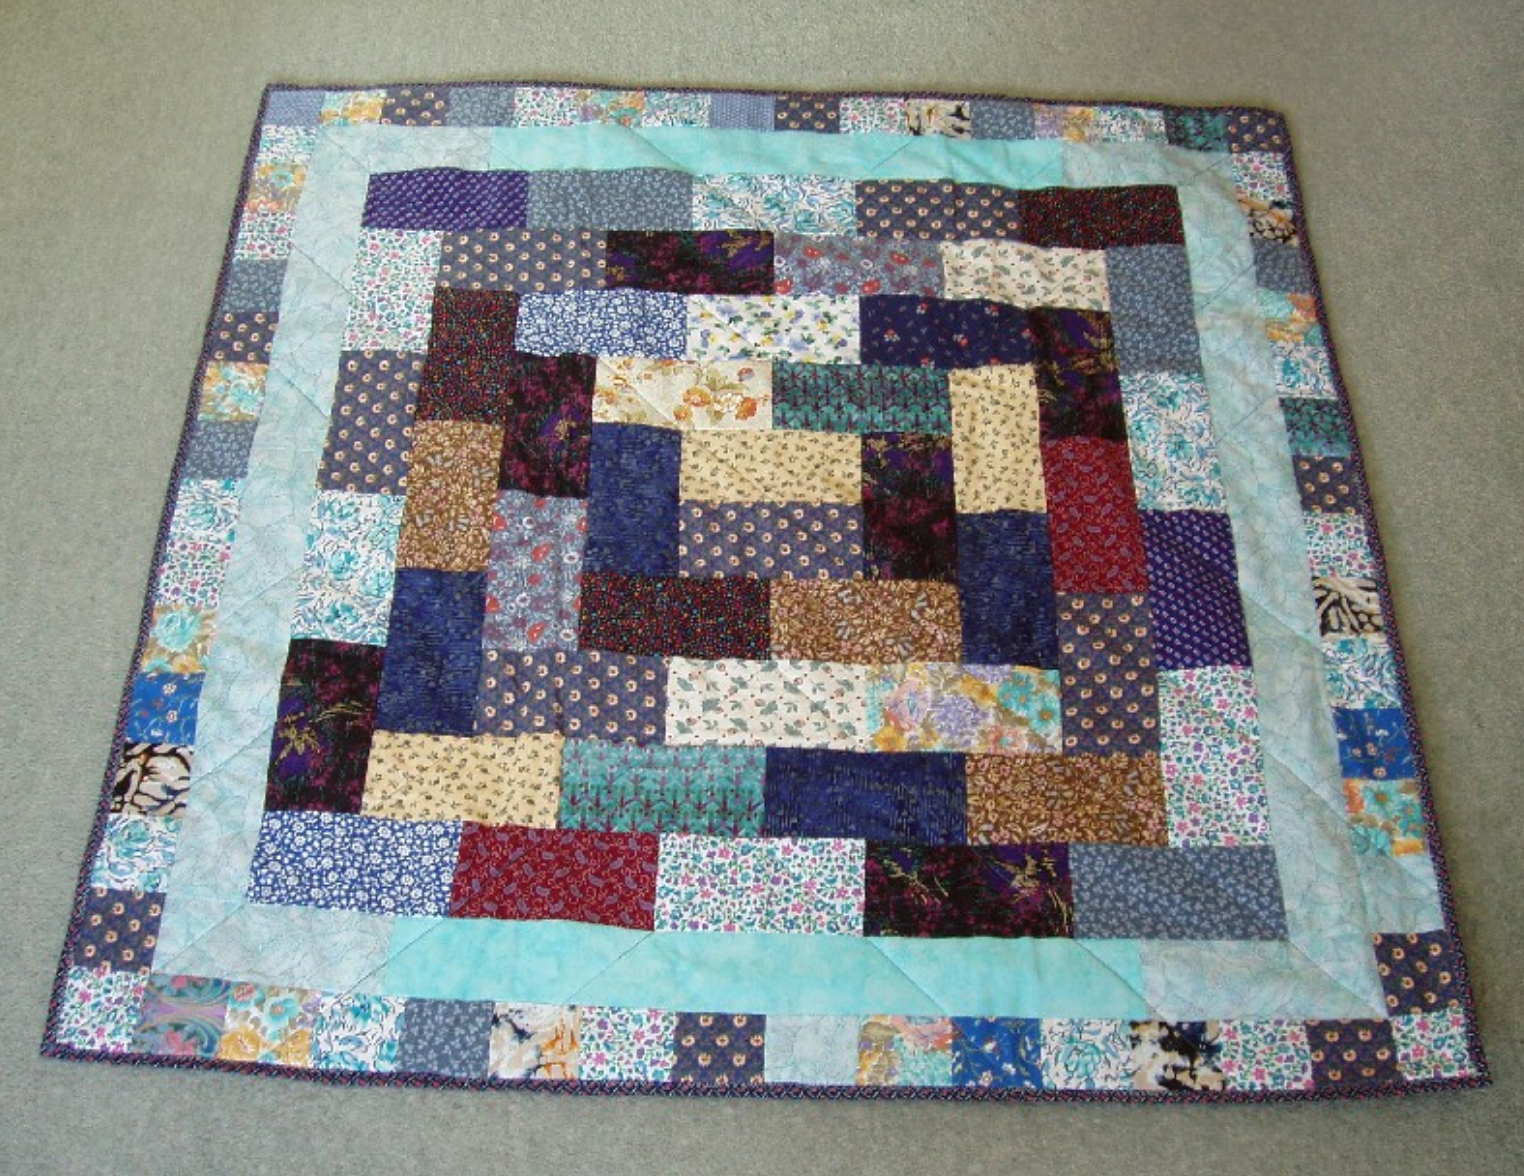
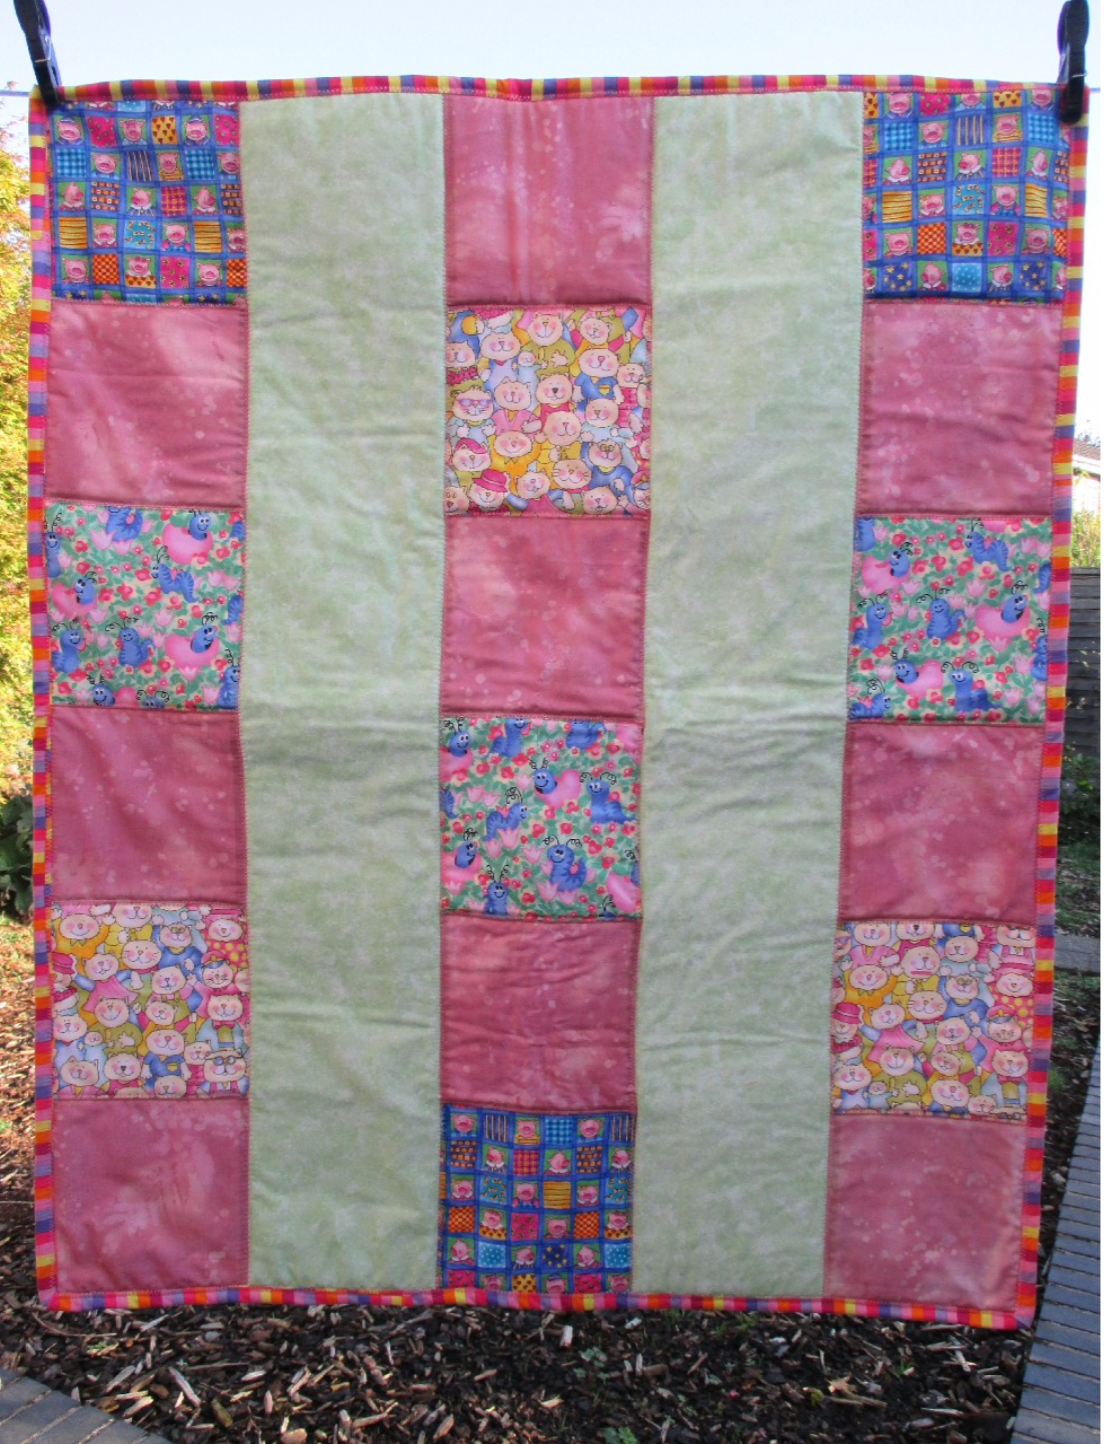
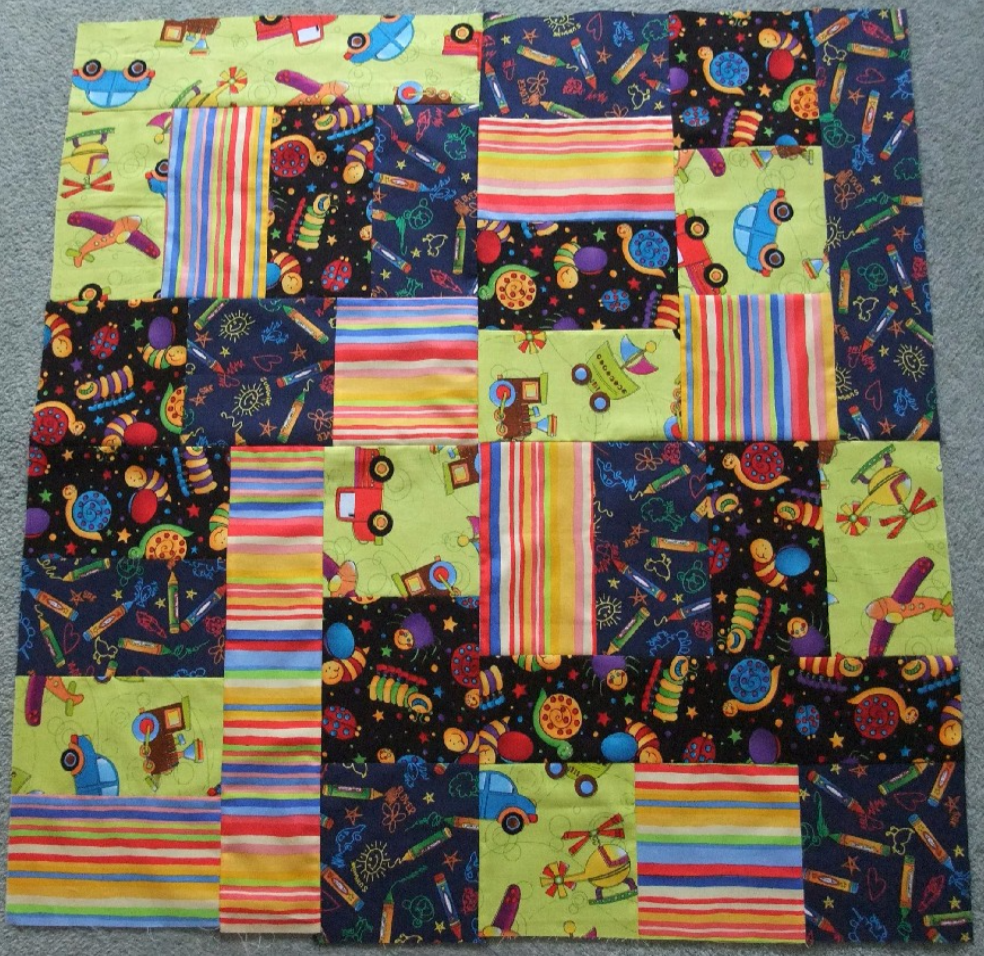
This is to comfort children with severe sleeping problem such as those caused by autism or various conditions where the sensory system is disturbed. A smaller version can also be used as a lap quilt for children who cannot sit still.

The use of a weighted quilt and the size and weight should be at the recommendation of a doctor or medical social worker. Three typical sizes are given but they can be adjusted to suit the needs of the child. A false back is sewn on to a quilt with the result being a cross between a quilt and duvet stitched to its cover. The weight is provided by sandbags stitched into pockets which are velcro’d to the back of the quilt and covered by the false back. These can be removed when the quilt is washed.

Materials
Economy mattress protector or similar ready quilted base. 2’ x 3’, 3’ x 4’6” or 4’6” x 6’. Good quality sheeting or lightweight curtain fabric – two pieces slightly larger than the finished size. Velcro type fastening – approx 3m, 6m or 10m. Old sheeting or offcuts. Kiln dried sand – 2kg, 4kg or 7kg approx.

Method
Sew strips of the smooth Velcro across the better side of the mattress protector, 3-6” in from the edge and about 9” apart. Lay the bottom piece of fabric face up and the top piece of fabric face down with the mattress protector Velcro side up on top. Line them up and pin. Stitch the layers together along the sides and top and part way in from the bottom corners, leaving enough open to turn right sides out once the seams have been trimmed. Once it is right side out, stitch again ½” in from the edge to hold the layers firmly in place. Sew Velcro across the open end, taking care to stitch both the mattress protector and the top fabric to one piece of Velcro and turn in the edges of the bottom fabric under the other piece. This is to close the quilt in use.

Cut strips of sheeting 9” deep and a little wider than the Velcro strips. Make a small hem along the long edges. Sew a strip of the rough Velcro 2” from one long edge. Fold with the Velcro inside and stitch the short ends. Turn right side out and sew across at intervals to make pockets roughly 4-6” wide. Cut sheeting, or offcuts, into rectangles 8” x 3.5”, fold widthways and stitch the two sides to make a bag. Turn right side out. Spoon in enough sand to nearly fill it. Turn the top over and hand stitch to close. Put a sandbag into each pocket and sew across the top of the pockets. Use the Velcro to attach the filled pockets to the inside of the quilt.

A video showing a similar method of making the quilts is available here: http://www.youtube.com/watch?v=ndwjSkVfV1g

Disappearing Nine Patch

Disappearing nine patch

This quilt looks intricate and impressive, but is actually very simple and quick to make. It’s perfect for beginners, and also a great pattern for anyone who wants to whip up a baby quilt quickly. The finished quilt measures 40″ by 40″ and requires 81 charm squares. (click the photo to view larger image)

This lovely quilt was made by Janice Ryan, and a free pattern is available on the Craftsy website.